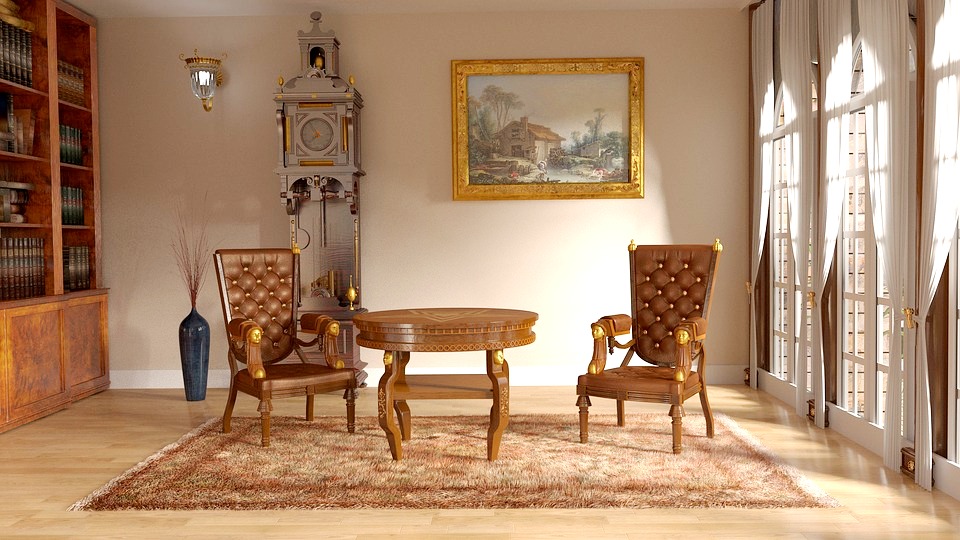
The only thing more priceless than a family heirloom is an heirloom expertly restored by technicians to look as new. Giving antique pieces a new life is a time-consuming process that takes a lot of experience, but in some cases, a simple step-by-step guide can lead you through the process that is also regarded as an eco-friendly alternative to buying brand new pieces of furniture.
With the right tools and products, even the owners can get rewarding results from restoring their worn-out furniture. Here are the seven major steps.
Ensure safety
Restoring old furniture relies heavily on chemicals and tools which pose a health hazard unless handled with caution. Using the proper tools for the job all the way not only makes the task easier but keeps you safe. Wearing protective gear like rubber gloves, long sleeves, and goggles will prevent chemical compounds from burning you while working in a ventilated area, or even better outdoors, will reduce the exposure to noxious vapours. Store the oily rags according to the instruction on the solvent package to prevent them from spontaneous combustion.
Identify the finish
First of all, you need to determine the current wood finish, so you know how to restore it. Natural finishes like lacquer, shellac, and varnish are difficult to identify at glance and may require some testing. Apply some denatured alcohol to an inconspicuous area - if the finish comes off, you're dealing with a shellac coating. If lacquer thinner does the job, the finish is lacquer, and if neither can remove it, it's probably varnish. Finishes like oil, wax, or a penetrating sealer are easily identified by the lack of shine on the surface.
Clean the surfaces
A good cleaning is sometimes all you need to do to restore the item to its former glory. What works for wood, typically works for rattan and wicker as well. Begin with an oil-based commercial wood cleaner to break the layers of dirt and wax on the surface. If wood cleaner alone isn’t enough, try the solution of warm water and liquid detergents used for regular house maintenance tasks. Use a cloth to apply the mixture, taking care not to soak the wood too much. Rinse the area completely, and dry with a soft clean microfiber cloth. Solvents are the last line of defense - use a rough cloth to apply them and another to wipe away immediately.
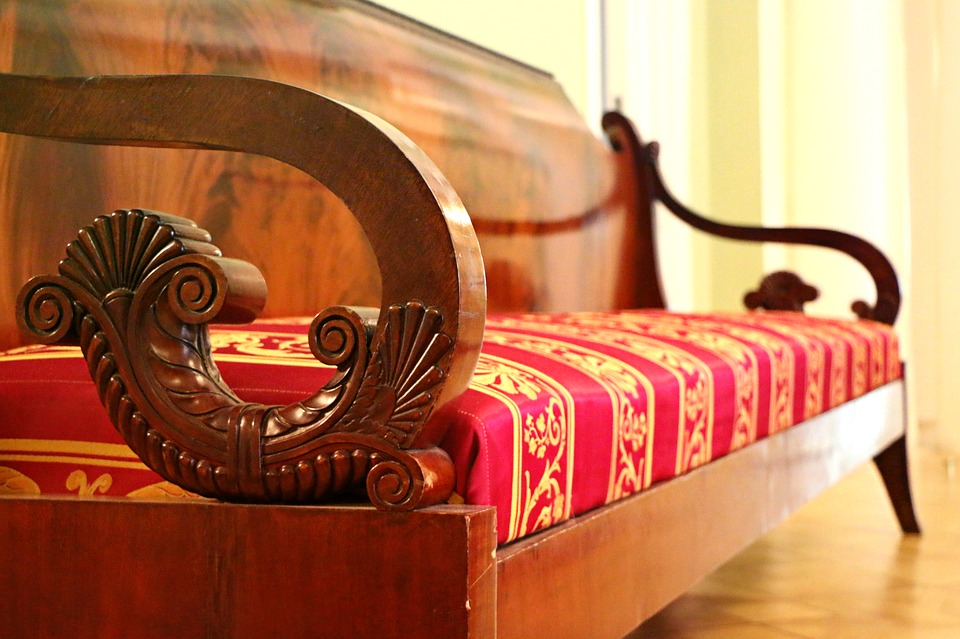
Revive the leather
The biggest problem with old leather is lack of moisture, which leads to cracking. Unless recommended by the manufacturer, water should never be used on leather as it dries it even more. Using a saddle soap, remove the dirt and dust, and massage a few coats of a leather cream. At this point, if the scratches, nicks, pencil marks, and mold stains are still overtly visible, you should consider a leather upholstery project that will update the leather parts of your furniture to match the refinished wood frames. A different color or shade of leather can give a new character to your old piece.
Buff out the imperfections
The process called reamalgamation includes removing scratches and cracks from the surface by applying a solvent like denatured alcohol or lacquer thinner with a soft bristle brush. Varnished surfaces usually can’t be reamalgamated. As the solvent dries, it will appear glossy and then turn dull but free from scratches. Buff the area lightly with steel wool, and for extra shine, finish the process by applying hard paste wax.
Strip the old finish
If the old finish is damaged beyond repair, you can strip it completely to make room for a new stain. Start on the top and apply the stripper in one direction, making sure to apply more generously to carved areas where the finish will be harder to remove. After about 20 minutes, start scraping the surface off with a putty knife or striping tool. It may need a couple of applications before the finish is removed.
Refinishing
Before you apply a new coat of stain and finish, make sure the cracks are filled and the loose joints are secured. For the first sanding, use 100-120-grit sandpaper and clean the surface with a vacuum cleaner and tack cloth. Apply the stain using a natural bristle brush, leaving it on for at least five minutes before wiping off the excess. Apply a sanding sealer and let it sit overnight to get better results from the second sanding. Use 220-grit sandpaper before applying the lacquer, varnish or polyurethane.
Restoring old furniture is a very rewarding undertaking that can not only bring a new look to the antique pieces in your home, but also make your home more sustainable. If you stick to these tips, the results will be well worth the effort.
Written by Lillian Connors
About the Author
Lillian Connors can’t resist the urge to embark on a myriad of green living/home improvement projects and spread the word about them. She cherishes the notion that sustainable housing and gardening will not only make us far less dependent on others regarding the dwellings we inhabit, but also contribute to our planet being a better place to live on. You can check her out on Twitter and LinkedIn.
You may also like
The Importance of Choosing Sustainable Furnishings and How To Recognize It
A Guide to Choosing Sustainable Furniture
Eco-Friendly Decorating Tips for Older Homes